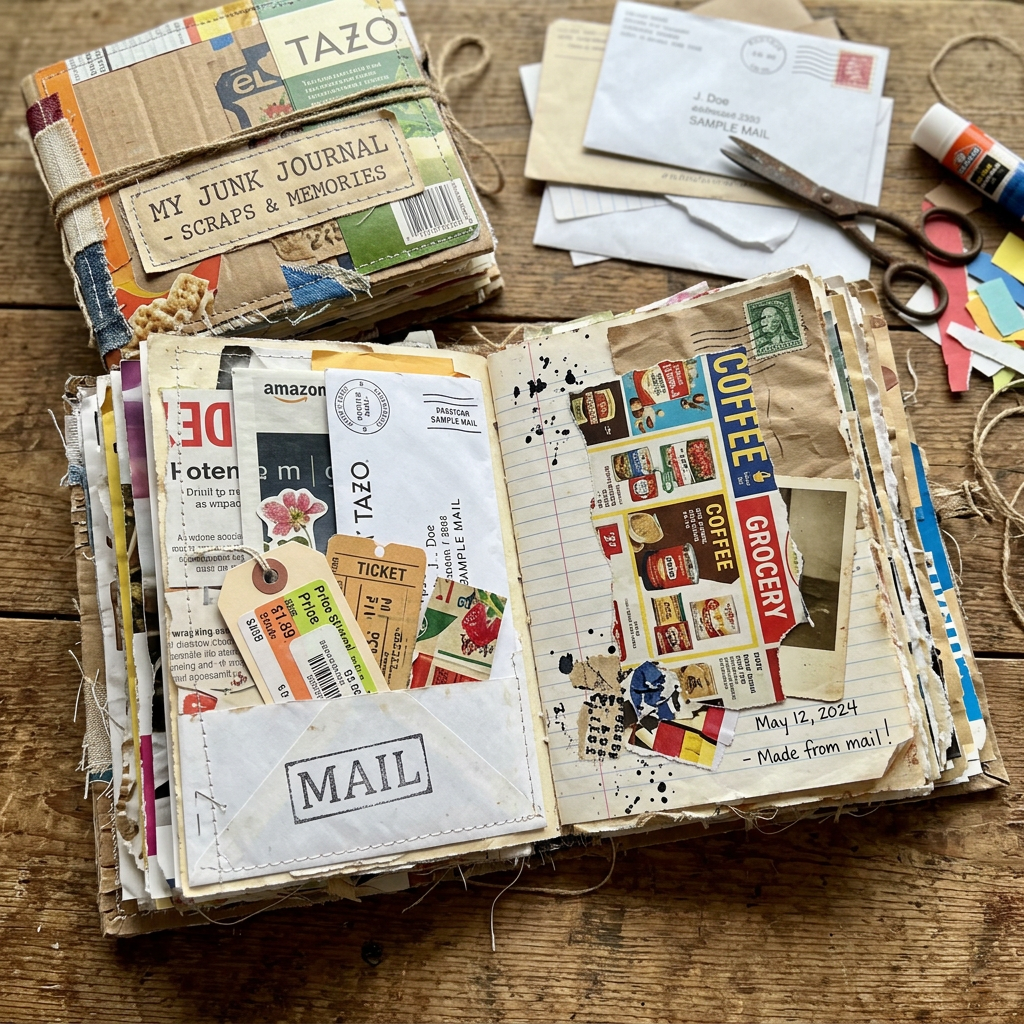
Creating a junk journal is a fun and creative way to repurpose old papers and materials while also giving them new life. This informative guide will walk you through the steps of layering, putting pages together of varying sizes, binding your journal, and making your own ephemera.
Materials Needed
- Old papers (notebooks, book pages, etc.)
- Junk mail (envelopes, brochures, postcards)
- Clean food packaging (cereal boxes, wrappers)
- Adhesives (glue stick, double-sided tape, washi tape)
- Scissors
- Hole punch
- String, ribbon, or twine (for binding)
- Decorative elements (stickers, stamps, paints)
Step 1: Gather and Prepare Your Materials
Start by collecting various papers and materials that you want to use in your junk journal. Old book pages, magazine clippings, junk mail, and clean food packaging with interesting graphics all work well. Make sure to clean any food packaging thoroughly to ensure it is safe to use.
Step 2: Layering Pages
When layering pages, consider varying the sizes and orientations for a whimsical look. You can:
- Use full-sized pages as your base and then add smaller pieces on top.
- Cut some pages to different shapes or sizes, creating a visual interest when viewed together.
- Mix in envelopes or folded pages for added pockets and secret compartments.
To create layers, simply stack your chosen papers and secure them in place temporarily with a clip until you’re ready to bind them.
Step 3: Binding Your Journal
There are several ways to bind your junk journal:
- Sewn Binding:
- Use a hole punch to create holes along one edge of the stacked pages.
- Thread string or twine through the holes to sew them together, ensuring it’s tight but not too constrictive.
- Hidden Spine Binding:
- Create a cover from a sturdy piece of clean food packaging like a cereal box.
- Fold your pages and position them inside the cover, then use washi tape along the spine to secure them.
- Ring Binding:
- Use binder rings to hold the pages together. Punch holes in the corner of pages and thread the rings through them. This method allows for easy rearrangement or addition of pages.
Step 4: Decorating Your Junk Journal
Once the binding is complete, it’s time to decorate! Use decorative elements such as stickers, stamps, or even paint to embellish the pages. Don’t be afraid to mix textures, colorful papers, and personal drawings.
Ephemera Making
To enhance your junk journal, consider creating your own ephemera. Here are some ideas:
- Postcards: Use old cardboard or card stock to create postcards. You can draw or collage on one side and leave the other for writing.
- Tags: Cut out fun shapes from old business cards or product labels to make decorative tags. Add a punch hole at the top and add string for a decorative touch.
- Envelopes: Use junk mail envelopes creatively – decorate their outsides and use them as pockets for holding tiny notes or mementos.
Conclusion
The beauty of a junk journal lies in its eclectic and personalized nature. By assembling papers of various sizes, binding them cleverly, and creating unique ephemera, you can craft a delightful journal that reflects your creativity and resourcefulness. Embrace the imperfection and enjoy the process of giving new life to discarded materials!

Leave a comment